My friend Anne brought back a great bag from Turkey last year.
Recently it needed some mending, so while I had it in my hot little hands,
This is my second attempt, and I decided to write a tutorial as I went along.
Here is the finished bag.
Materials needed:
Ribbons, trims and cotton fabric.
You can piece the the outside body of the bag anyway you want.
I happened to do it in strips.
The cutting specs are as follows:
Body of bag 20 1/2 "(W) x 24 1/2" (L) (unfinished)
Lining of bag 20 1/2" (W) x 24 1/2" (L) (unfinished)
Pocket 7 1/2" X 4 1/2" (unfinished)
Straps (2) 28" x 2 1/1"
The "bib" top has a photo below, to copy and print.
(For some reason I couldn't get my PDF to load to the page.
I know, I am not very technical, but if you are interested,
I will email you the PDF.)
First I gathered a bunch of fun trims and ribbons.
Then I picked out some fabric for the body of the bag.
I decided to cut strips, but you could certainly use one piece of fabric if you like.
You may piece the 24 1/2" strips in any widths you like as long as they add up to 20 1/2"
I used these measurements
Orange: 4 1/2"
Blue: 1 1/2"
Green: 3"
Yellow: 3 1/2"
Grey: 4 1/2"
Blue: 2"
Magenta: 4"
Sew them all together and press.
Then I played around with the ribbons and trims.
These are topstitched on.
Next I prepared the inside pocket to attach to the lining.
I rolled the hem on the top of the pocket so it won't fray.
The other sides I just folded once.
Center the pocket on the lining about 5 1/2" from the top
and stitch down leaving the top open.
Then with the right sides together, stitch the front to the lining
sewing up the two sides that are 24 1/2 " long. Leave the ends open.
Press the side seams open first.
And then press them flat, this will make a crisp edge.
Here is a shot of the lining with the pocket.
Here is the outside of the bag.
Trim the open ends up so it's easier to finish.
Now take the layered bag and fold it with the outside of the bag right sides together,
and the lining on the outside.
Measure 5" from the folded bottom and mark with a pin on both sides of bag.
You are only going to sew up those 5" on either side of the bag.
Take the straps and fold them right sides together and stitch the long side,
leaving the ends open.
Turn inside out.
Press as flat as you can.
Be careful not to burn your fingers!
I topstitched both sides of the straps to keep them flat
and give them a bit more strength.
You could use ribbons or linings here to make them even stronger.
The finished strap should be 1" wide.
Here is the pattern for the bib part of the bag.
Again, I will email you the PDF if you are interested.
You'll cut two of these for the lining and two for the outside of the bag.
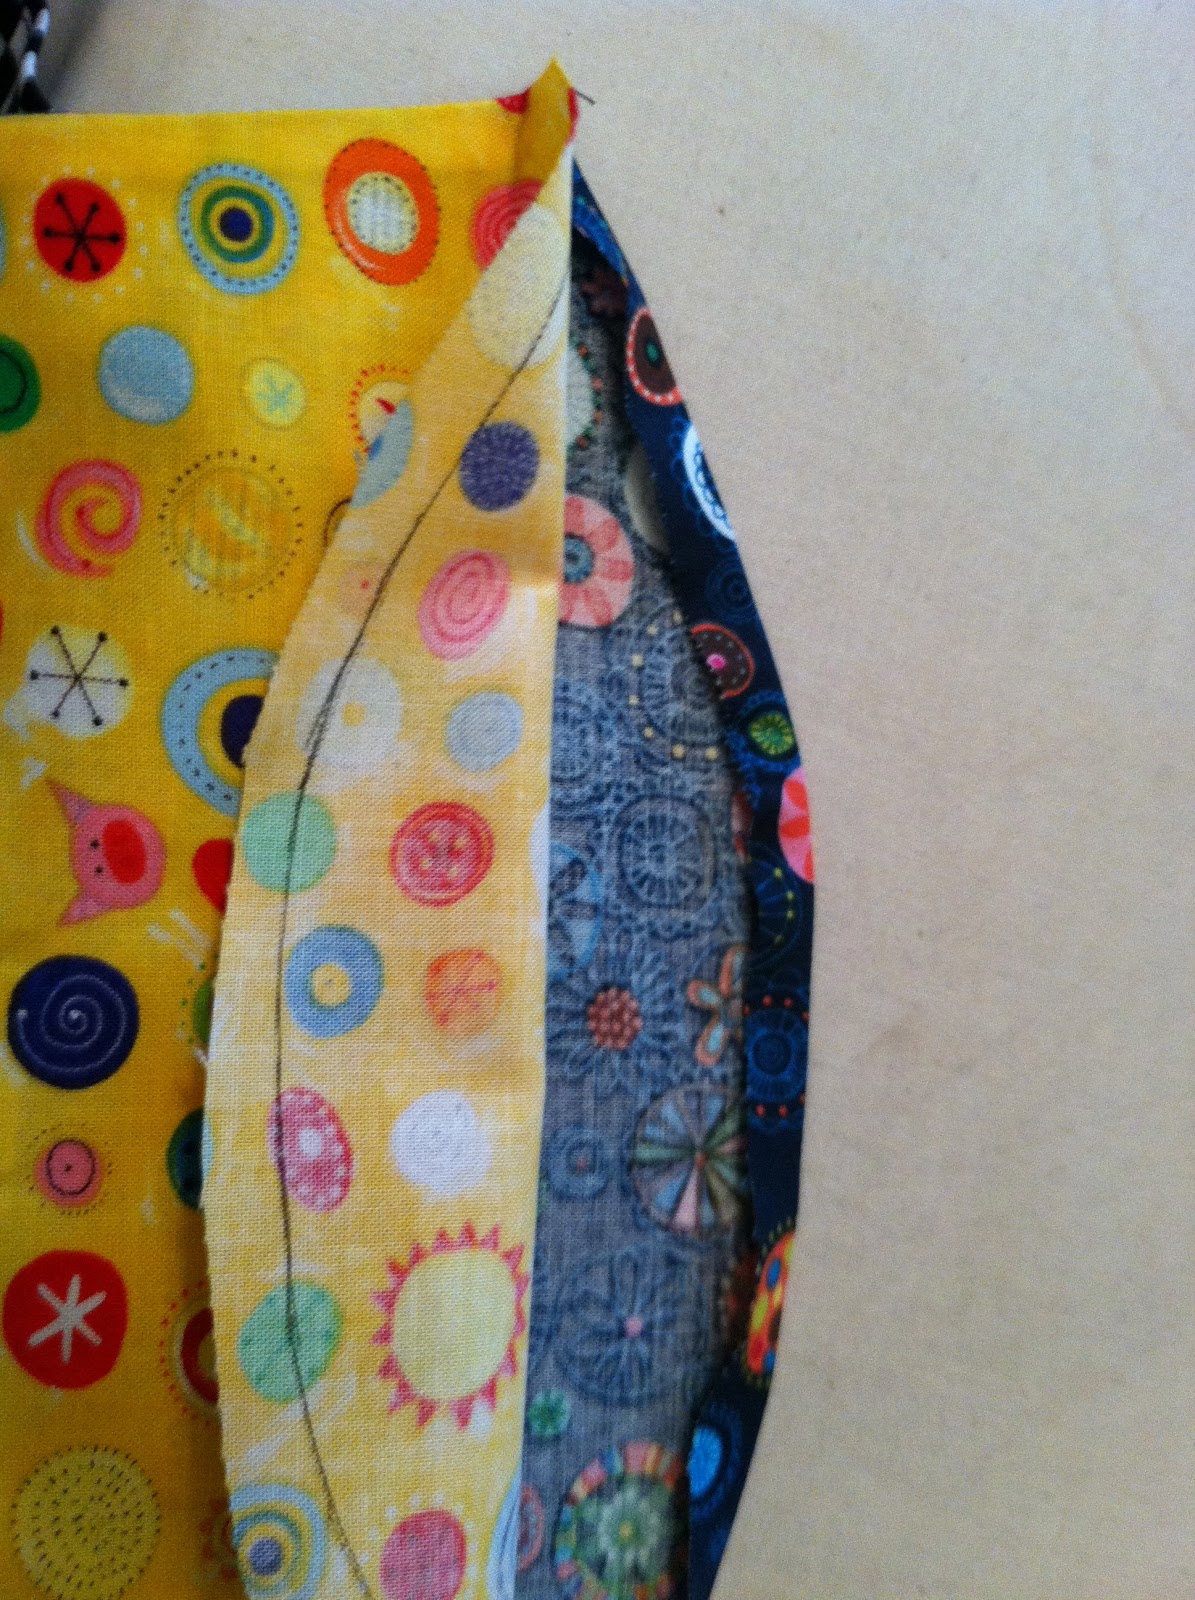
Trace the pattern on the back of the lining. This is your stitch line,
so leave enough room for seam allowances.
You will then lay the lining on top of the outside bib piece, right sides together.
Here is a tricky part.
You are going to take the straps and sandwich them in between
the lining and the outside pieces.
Make sure that you lay the straps as shown so they aren't twisty
and will hang right when turned inside out.
Pin carefully so that it is lined up right at the top of the bib.
Stitch on the line, just the top and sides.
Clip every 3/4" on the curves so that it will lay flat when turned.
Turn and press.
Now back to the body of the bag.
At the top of each side you are going to make little pleats.
This is not an exact science. It will depend on your trims.
Start in the middle and work out.
You want the top to measure 11" wide when you are done.
Both sides . . .
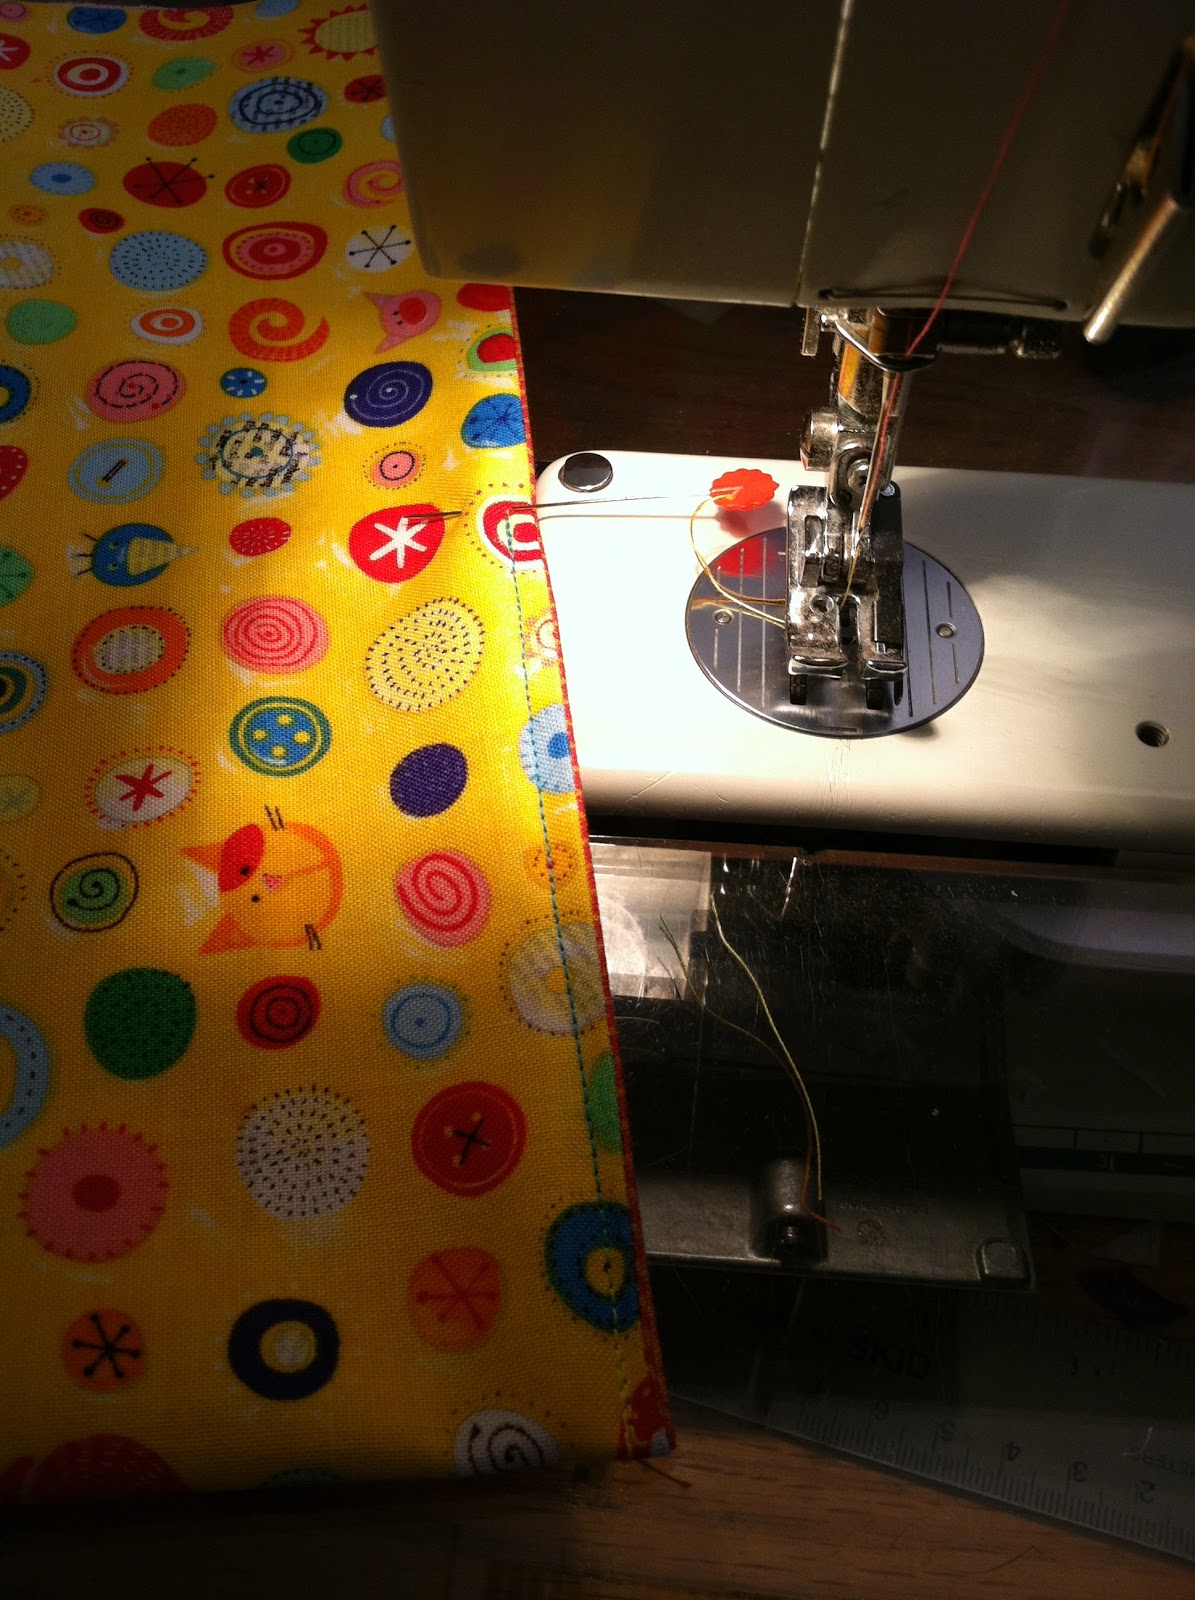
Carefully do a running stitch 1/4" from the top to hold your pleats in place.
I added some pom poms on top of the running stitch.
To attach the bib top, first press the seams over.
Pin carefully to the top of the bag. Just the outside part of the bib.
You may have to wiggle it a bit to get it just right.
Carefully top stitch the outside piece of the bib to the bag.
Be careful not to sew the lining or the straps.
(which of course I did and had to rip out!)
Then hand sew the lining down with a blind stitch.
This looks nicer than trying to get it all lined up with the outside top stitch.
Put a box pleat corner in on each side.
Lay the side flat and measure 2 1/2" from the tip,
draw a line and stitch away.
You can put the box pleat on the outside or inside of the bag.
Anne's bag has it on the outside and you could add a button or other embellishment.
So there you have it! A great spring/summer bag.
It opens wide, so you can see everything in there,
and everything stays put, so no worries about things falling out.
I guess I will be making a few more of these!